Produktbeschreibung
British Motor Company versus Italian Carri Compagnia
Dion was keen to try out a British Motor Company, and we were both looking forward to trying out the new mission from Desert Rats, The Cauldron. The Cauldron mission pits two intermingled forces against each other, with one side in defensive positions around a central position while the other force is randomly scattered around them.
It represents the British pushes into the Axis lines during the night where they would then set-up and wait for the inevitable counter-attack.
As Dion was using an infantry company he was cast in the role of defender while my mighty Italian tank company would be the aggressor.
Forces
Dion selected a Motor company from Desert Rats.
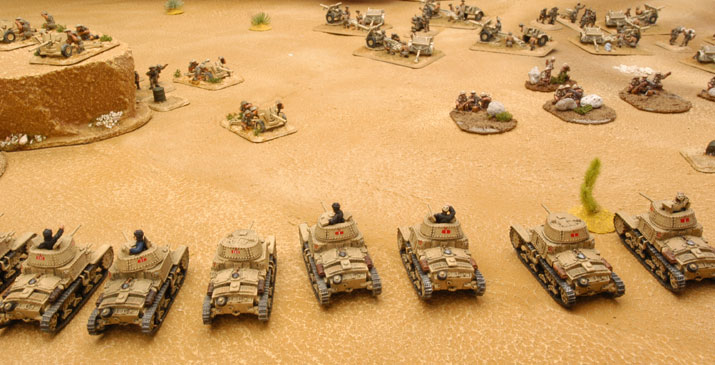
Wayne took his Carri Compagnia, honed to perfection after many years of trial and error.
Deployment
As Dion had a Motor Infantry company and myself a Tank company it fell on me to attack, which I was quite happy with. I selected my long table edge to have my reserves arrive from. Dion then set up the objectives, three are placed inside a 12/30cm diameter circle in the centre of the table. The attacker then has to remove one; I chose the one furthest inside the depression.
Dion, as the defender, has to hold at least half of his force in reserve; he selects his 6pdr Portees and 2 Lorried Platoons. On table are his 25pdrs, towed 6pdrs, and MG Platoon. He also positions his company HQ near the 25pdrs, with the Breda Portees of the AT section in the date-palm grove.
I then deployed my force using the Random Deployment mission special rule. I roll a die for each platoon; on a 1-4 the platoon is deployed in the position indicated in the mission map. On a 5 the platoon is held in reserve and on a 6 I can choose where I deploy the platoon.
And so on - read more by : http://www.battlefront.co.nz/Article.asp?ArticleID=435 |